

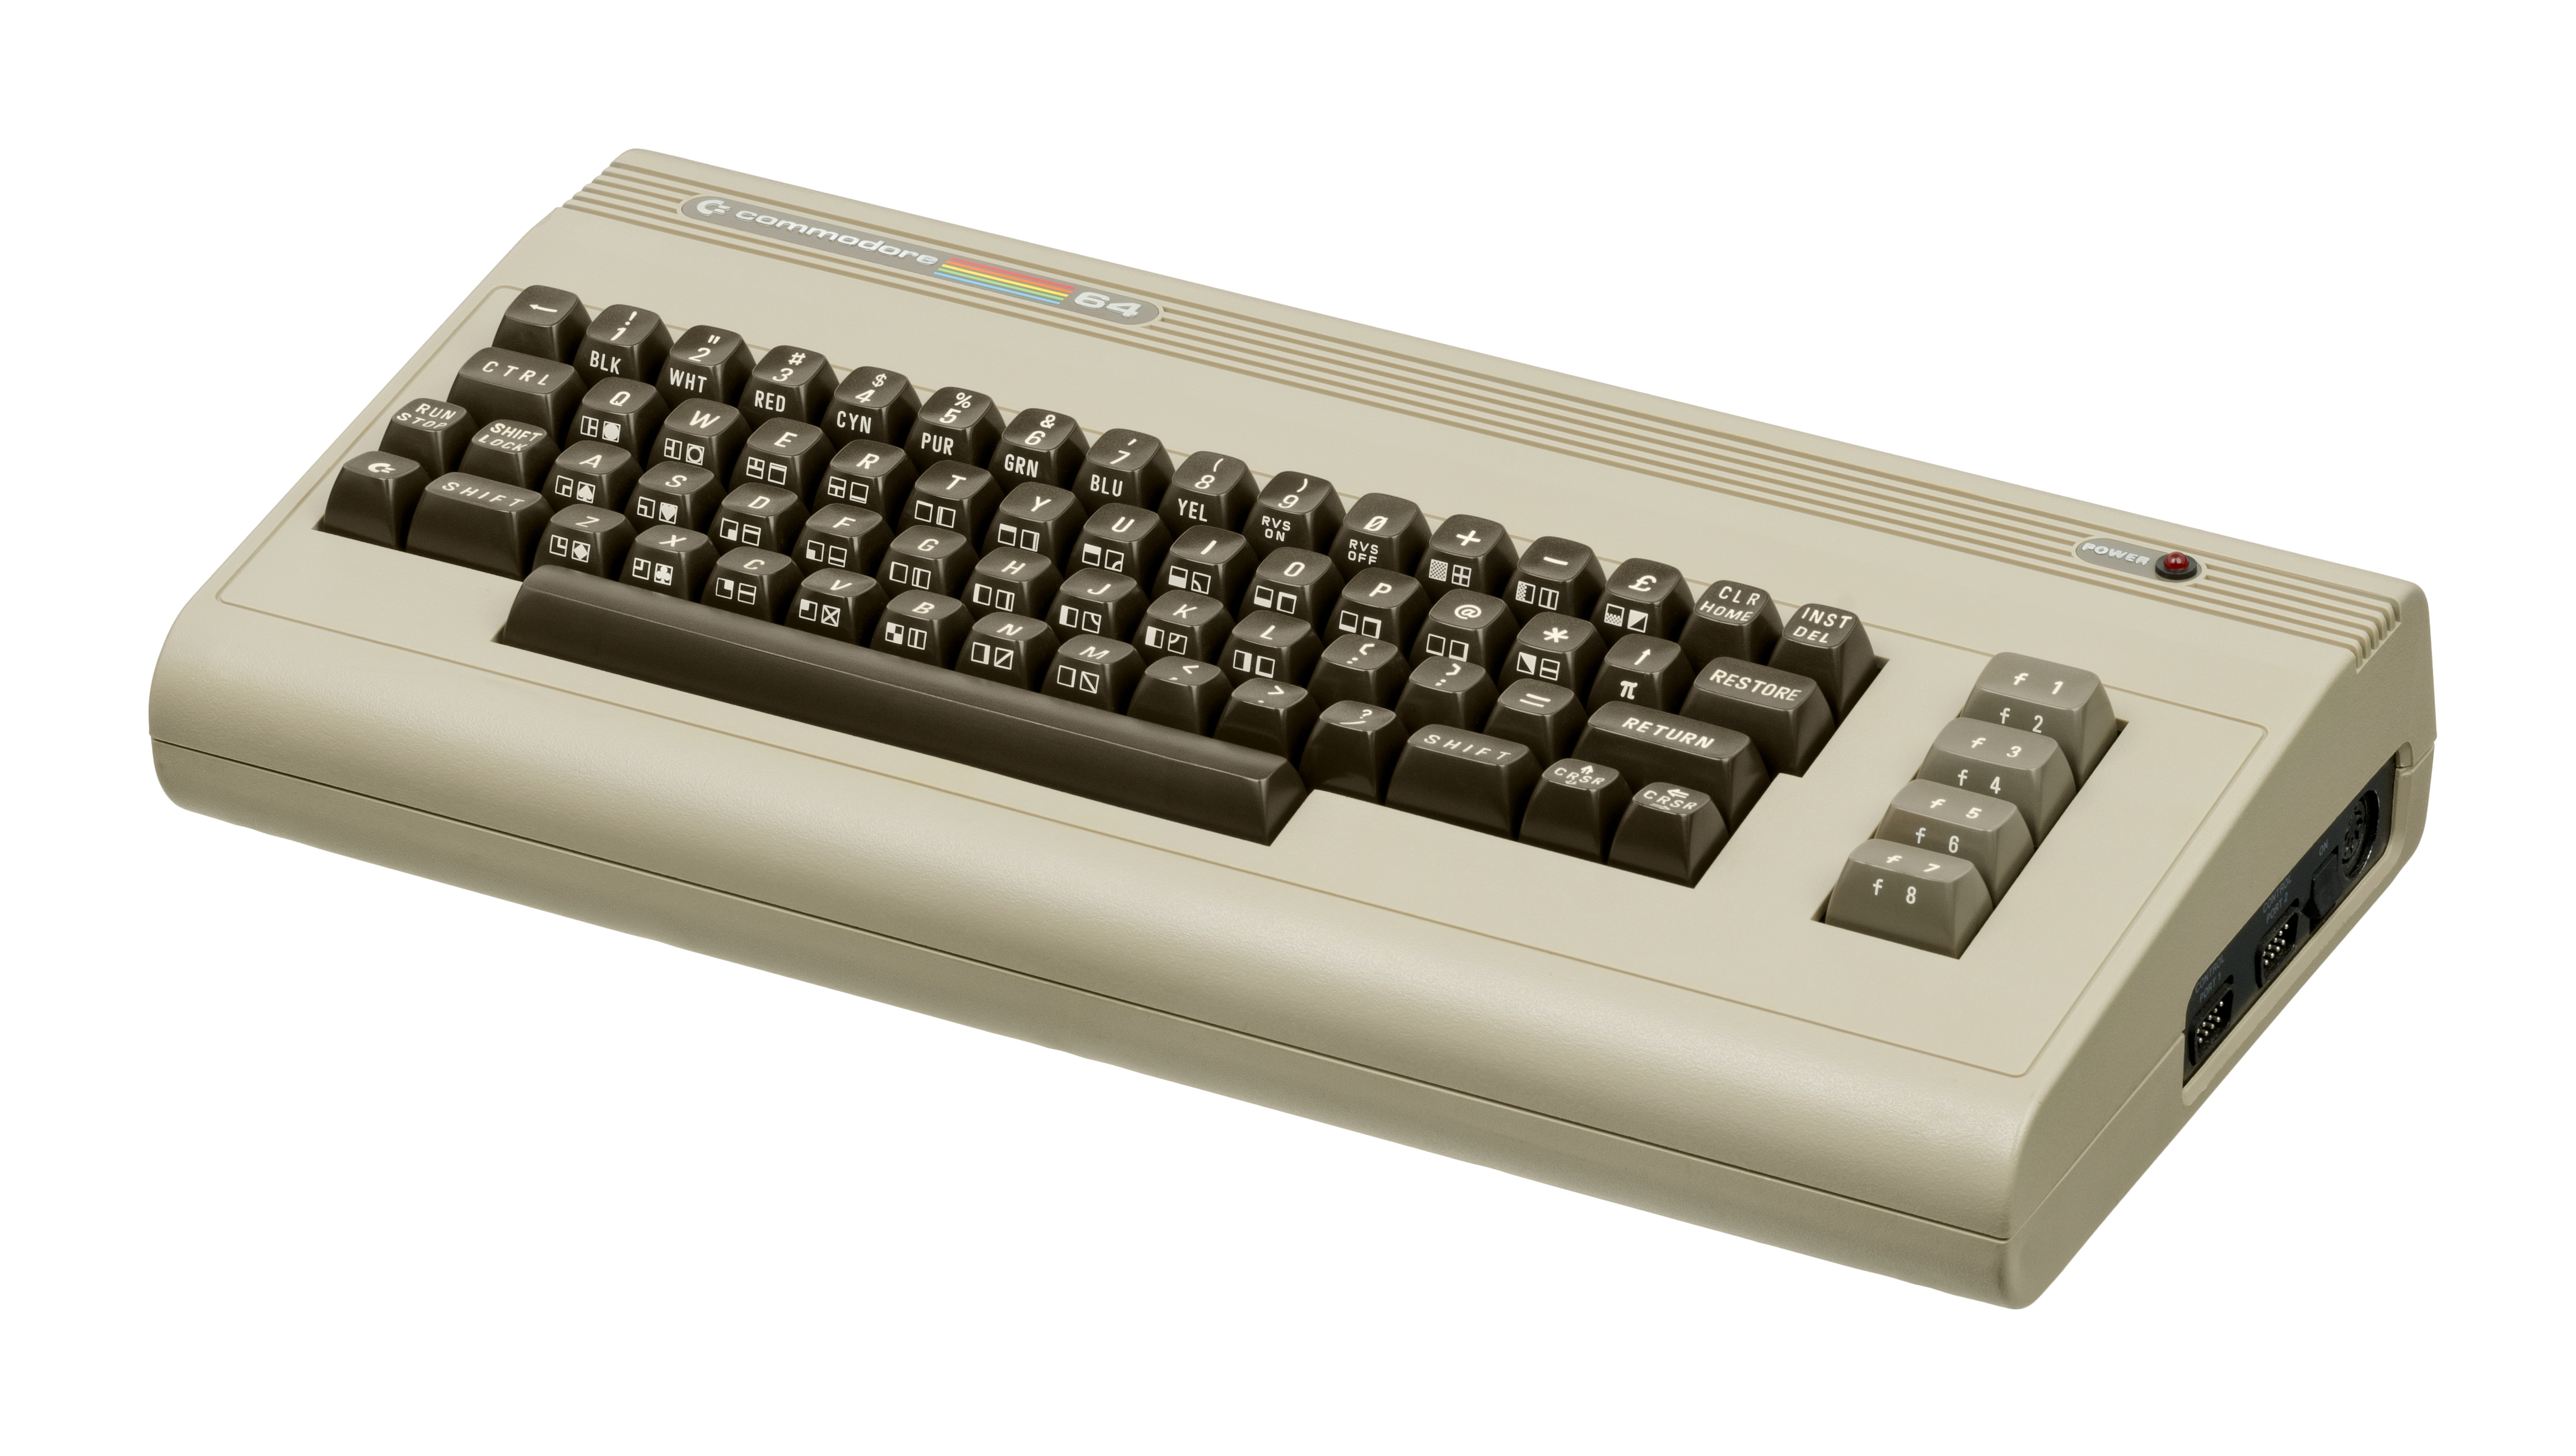

You’re feeling that retro‑gaming nostalgia and decide to fire up your old Commodore 64. You flip the switch and… nothing. Just the dreaded black screen. You crack open the case, start feeling around for suspiciously warm chips, and sure enough—the PLA is scorching hot. You’re not alone. The original MOS PLA is one of those chips that will fail eventually, so having a backup is practically a rite of passage for C64 owners.
Enter the GAL PLA, a cheap, reliable replacement built around the GAL20V8B CPLD. There are other PLA substitutes out there, but the GAL PLA hits the sweet spot of cost, availability, and DIY friendliness.

Some folks don’t love its size, since it does change the look of the motherboard a bit. Fair enough. If aesthetics matter, there’s a slimmer option called the SlimPLA, which piggybacks the chips for a smaller footprint. I went with building a standard GAL PLA myself, but you can easily buy one on eBay for around $15 shipped. If you’d rather build your own, you’re in luck—the full plans are available on the PLA20V8 Project page, and I ordered my boards from Oshpark.

To make your own, you’ll need an EPROM programmer—most retro enthusiasts use the TL866II+ — and two GAL20V8 chips, ideally the 25ns versions. The project page provides the necessary .jed files, and remember: you need both the left and right versions. Once your chips are programmed and seated in the board, it’s time to test.


Sure, you can just power on your C64 and hope for the best, but running a logic test first is the smarter move. Once it passes, and hopefully fixes your Commodore 64 problems that started this whole mess, there’s one more trial: Super Zaxxon. This game is notorious for exposing timing issues in PLA clones. Many replacements show graphical glitches or corruption, but a properly designed GAL PLA should pass with flying colors—well, flying space planes.

I hope you enjoyed this little dive into the world of PLA replacements. Now get back to your retro gaming and keep those classics alive.
Pro tip: If you don’t already have a chip lifter, do yourself a favor and get one. Prying ICs out with screwdrivers or whatever’s lying around is a guaranteed way to bend chip legs and ruin your day. I use the Wiha 26810, and it’s a total game changer.
Here are a few links to get you going.
Jameco GAL chip / The PLA20V8 Project Page / My Oshpark link to order and make your own / PLA Logic Tester Github / TL866II+ Programmer
Happy Tinkering.
Rick