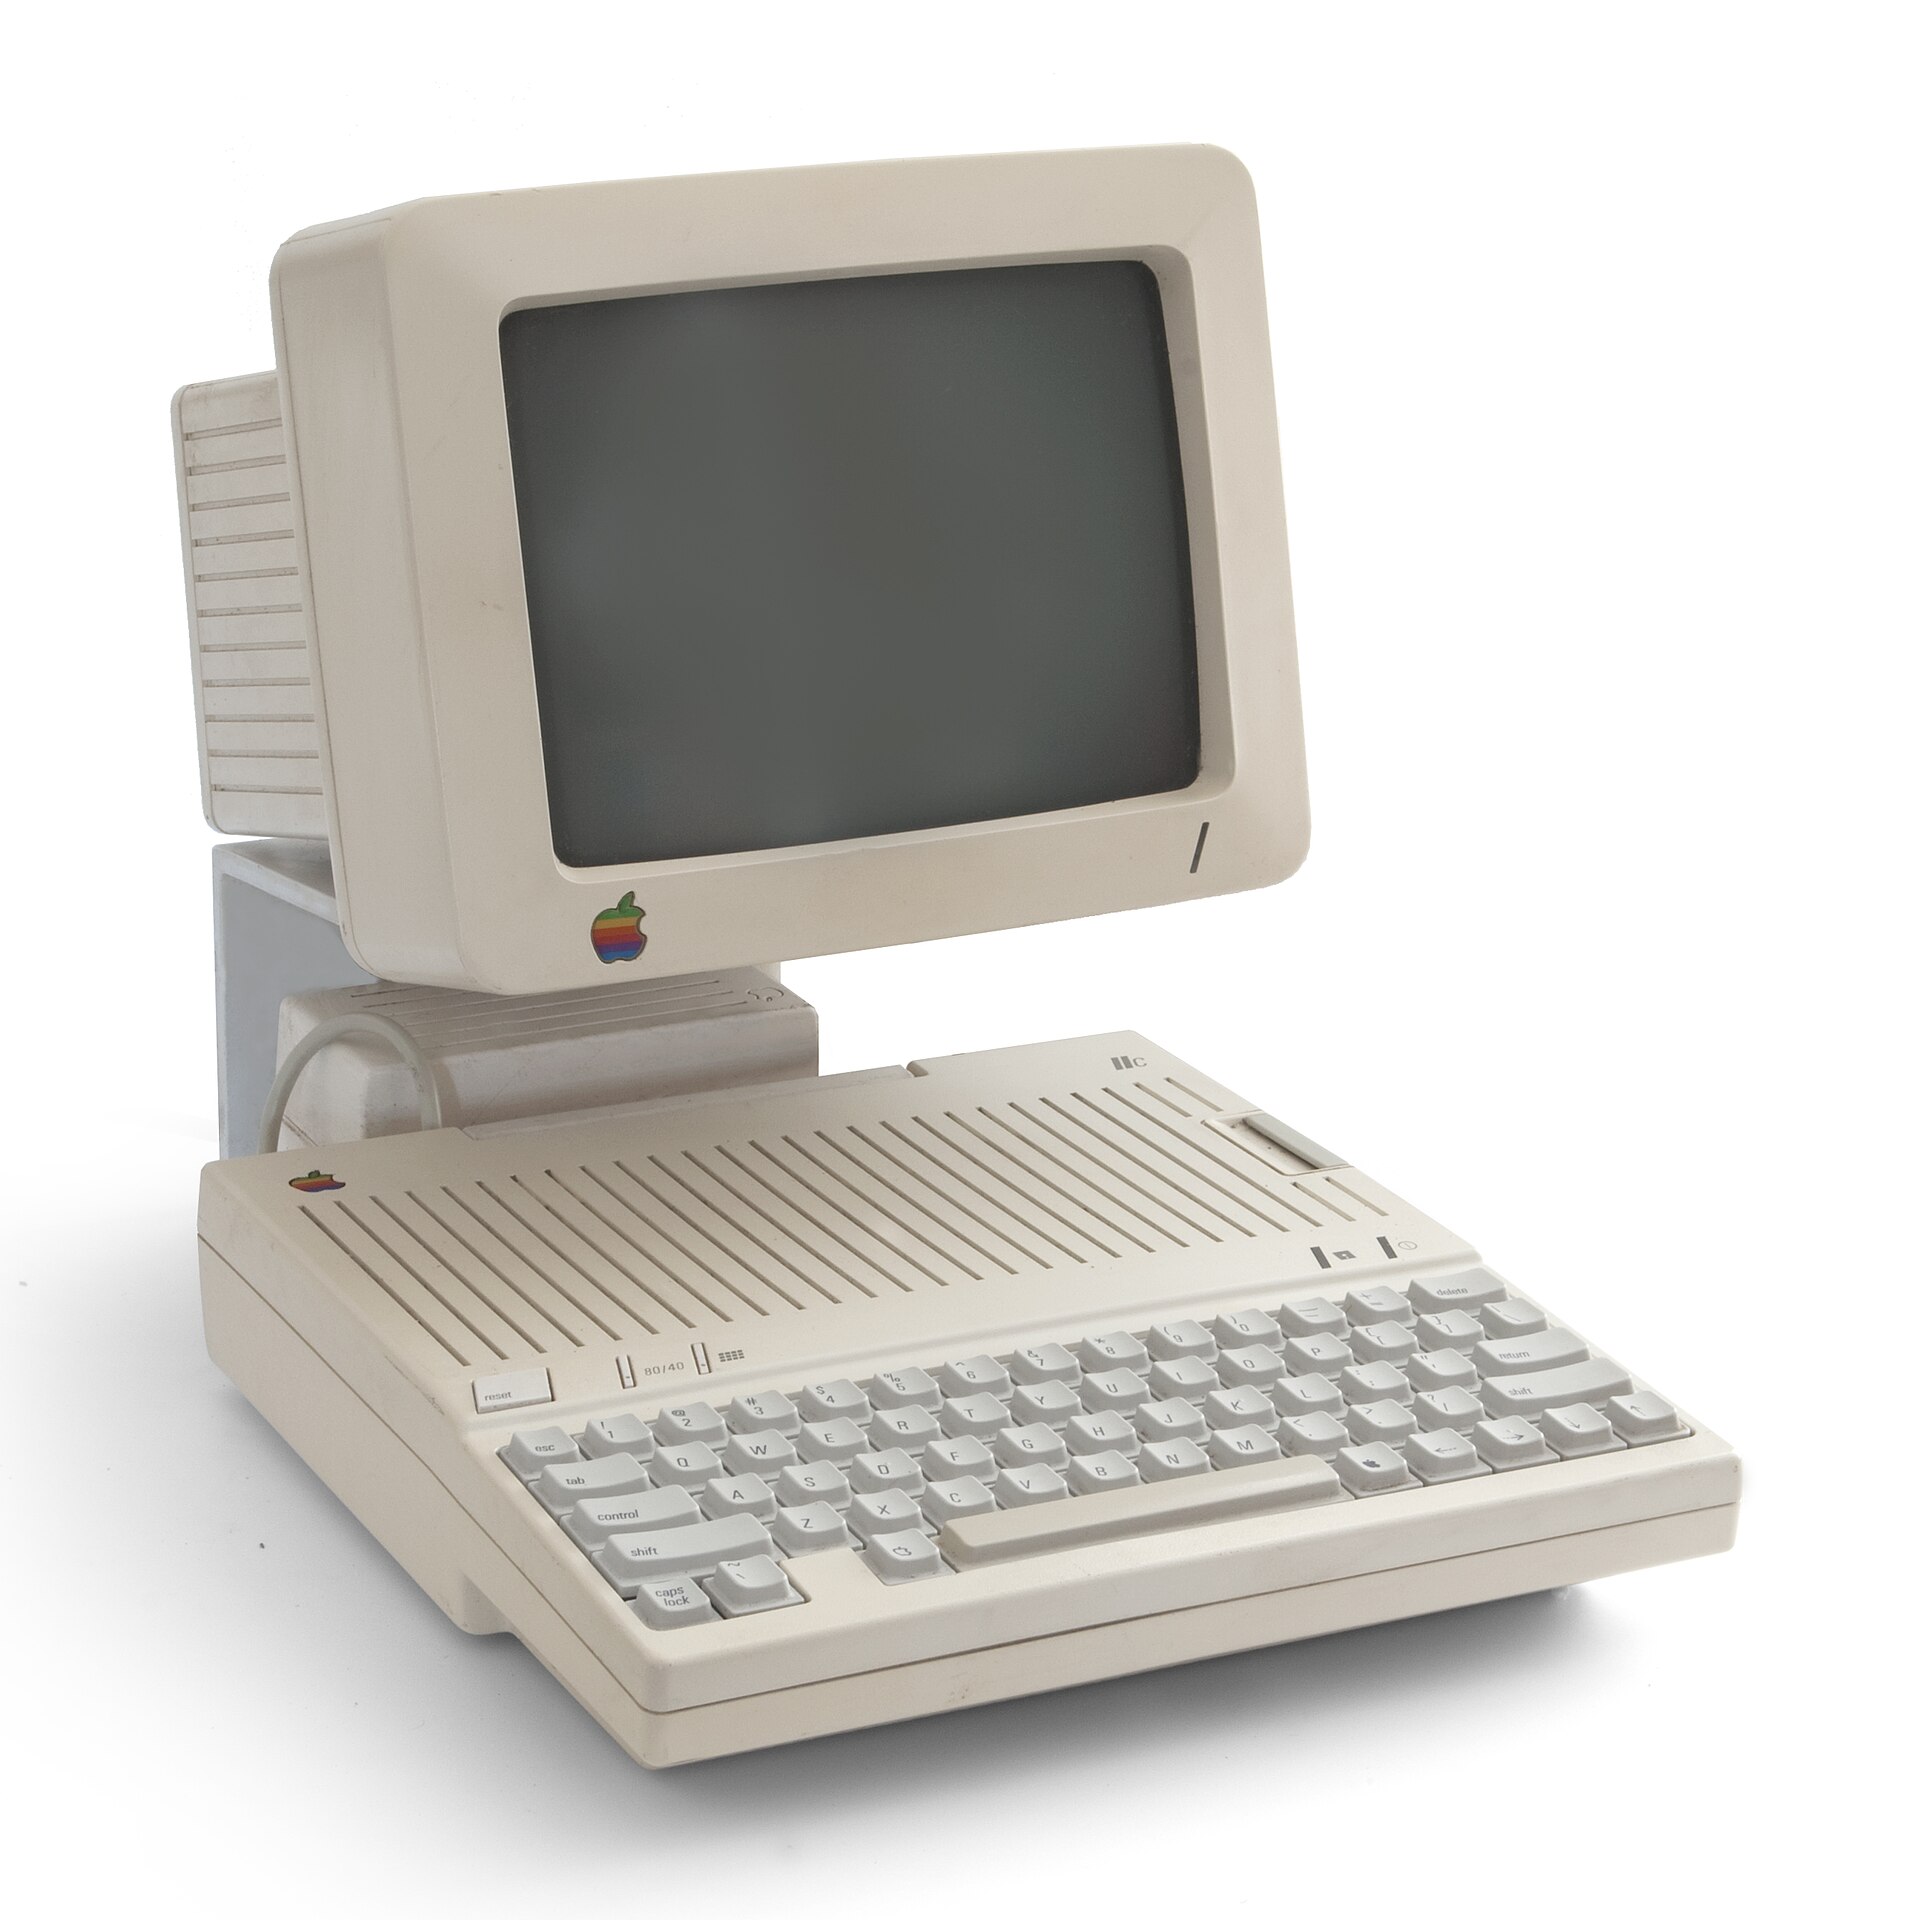


ROM chips: the unassuming workhorses of the retro‑computing world. They sit there quietly, doing their job with absolute reliability, and most of us barely give them a second thought. Let’s fix that. In this article, we’ll walk through identifying and upgrading the system ROM in an Apple IIc. The IIc+ follows a similar process, but uses different firmware — so IIc+ owners, take note.

Step 1: Identify Your ROM Version
Power on your Apple IIc and, at the first prompt, type: ?PEEK(64447). You’ll get a number corresponding to the installed ROM. Official Apple IIc ROMs are 255, 0, 3, 4, and 5. Here’s what each one means:
- ROM 255 (16K) — Original 1984 release. Supports
PR#7booting from an external floppy as drive #2. No SmartPort support. Mouse firmware lives in slot 4. - ROM 0 (32K) — Late 1985. Doubled the ROM size and added SmartPort firmware for the UniDisk 3.5. Removed the drive #2 boot feature.
- ROM 3 (32K) — 1986, for expandable‑memory motherboards (A2S4100). Adds support for the official Memory Expansion Card and moves mouse firmware to slot 7.
- ROM 4 (32K) — 1988. Minor bug fixes for keyboard buffering and memory‑card handling.
- ROM 5 (32K) — 1988, for the Apple IIc Plus. Optimized for the internal 3.5″ drive and the built‑in 4 MHz accelerator.
Special Case: Upgrading from ROM 255`
If your machine reports 255, you’ll need to perform one hardware modification before installing a 32K ROM:
- Cut the W1 trace
- Bridge the W2 trace with solder
This reconfigures the board to accept a 32K EPROM.


Step 2: Opening the Case
Now for the part every Apple IIc owner learns to respect: opening the case. Start by removing the six outer screws shown in the photo. Leave the four inner screws alone — those secure the disk drive and don’t need to be touched.
You’d think the case would lift right off once the screws are out. It doesn’t. The IIc’s front tab holds on tight, and getting the top shell free is notoriously awkward. There are two common methods:
Method 1: The “Front‑Tab Push” – Some people slide a very thin, non‑marring tool into the front seam to press the locking tab inward, and then pivot the case front up. It works, but I’m not a fan — it’s easy to slip and scuff the plastic.
Method 2: The “Handle Drop” Trick – Lower the carrying handle so the machine tilts backward and rests on it. Lift the rear of the computer about 3 inches (7 cm) and let it drop. When it lands, the handle flexes just enough to pop the back of the case loose. It’s surprisingly effective, even if it feels a little barbaric. There’s a video demonstrating it if you need proof.
If there’s a gentler method out there, I haven’t found it. The IIc case simply likes to fight back.

Step 3: Remove the Existing ROM
The ROM chip is located closest to the speaker connector. Use a proper chip lifter (I like the Wiha one) to gently remove it from the socket.
Now you have two options:
Option A: Install a Pre‑Programmed ROM
You can buy a ready‑to‑go ROM from eBay or ReActiveMicro.com.
Option B: Program Your Own
If you prefer the DIY route:
- Use a 27C256 EPROM (Jameco is a reliable source).
- I recommend the UV‑erasable versions instead of OTP chips.
- Program it using an EPROM programmer — the TL866II+ works great.
- Download the correct
.binfile from ReActiveMicro’s firmware page and burn it to the 27C256. ReActiveMicro.com/product/firmware-rom/.
Once programmed, reinstall the ROM, making sure the notch faces the correct direction.

Step 4: Boot and Verify
Power on the Apple IIc. It should look exactly the same as before — a bit anticlimactic, but that’s normal.
Now press Control + Closed‑Apple + Reset, and keep holding Closed‑Apple after releasing Reset. If you’re running the new ROM 4X, you’ll see this menu:
0 Monitor1 Reboot2 Zero RAM Card and Reboot3 Diagnostics4 RAM Card Diagnostics5 Boot SmartPort6 Boot Int. 5.257 Boot Ext. 5.25
If you have a JD Micro Xdrive IIc, options 2 and 4 will be replaced:
2 Config Xdrive4 Boot Xdrive
If you have a JD Micro ROMXc, the first line in the menu becomes:
0 Monitor 8 ROMXc
Step 5: Explore Your New Features
Now the fun part: poke around the new menu options, test SmartPort booting, run diagnostics, and enjoy the expanded capabilities your upgraded ROM unlocks. It’s a small upgrade with a surprisingly big impact on how flexible and modern your Apple IIc can feel.
Here are some links to get you started.
Jameco / ReActiveMicro / BMOW / Wiha chip lifter / ROM 4X Github project / TL866II+ programmer / JD Micro.
Happy Tinkering,
Rick