
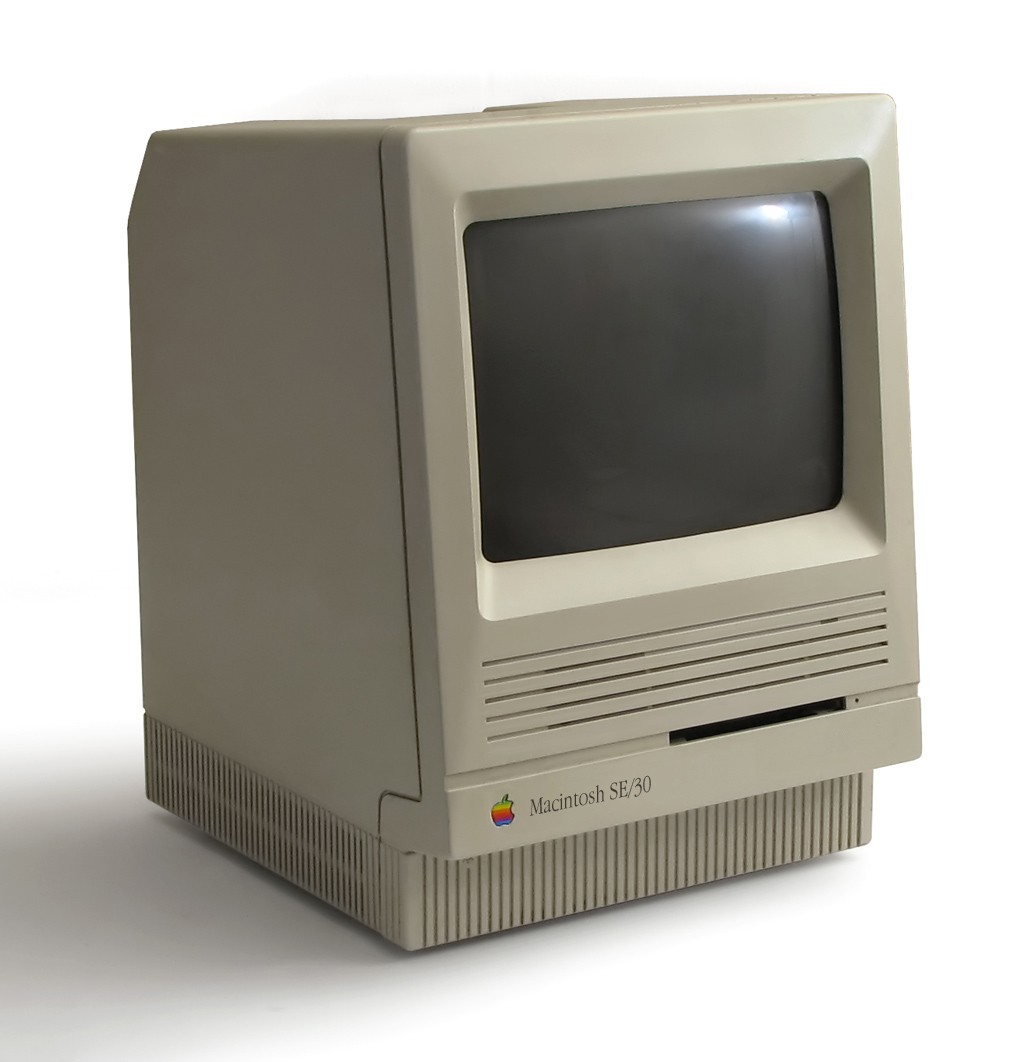

While wandering down the YouTube rabbit hole—as one inevitably does—I stumbled onto a project video that genuinely lit me up. Colin from This Does Not Compute was exploring a build based on the Maclock desk toy, and the moment I saw that tiny Macintosh shell, I knew I wanted one of my own. The problem was, Colin’s version didn’t quite deliver the fully functional mini Macintosh I had in mind, so I mentally shelved the idea.
Then I discovered Wells Workshop on YouTube, and everything changed. His build was exactly what I’d been imagining. He even designed a custom circuit board that repurposed the existing Maclock components. I didn’t hesitate—I ordered a Maclock from Amazon on the spot.

The Maclock is a fun little desk toy on its own, but the real magic is the case. The build quality is shockingly good for something meant to sit on a shelf. It’s a perfect miniature Macintosh, and for Mac aficionados like us, it’s basically irresistible.
Now for the project itself. The plan is to tuck a Raspberry Pi Zero, an LCD screen, and a speaker inside that gorgeous little case, then install an emulator capable of running real Macintosh System 6 or 7. In other words, we’re building an actual working 68k Macintosh—just shrunken down to toy size.

Wells Workshop added some brilliant touches that make this project feel truly special. His custom circuit board fits the case perfectly, reuses parts from the original Maclock board, and enables the two front buttons and the brightness control knob to function just like a real Mac. Even better, the machine powers on when you insert the tiny floppy disk. Yes, the floppy “works”… sort of. And you can power the whole thing using either the built‑in USB‑C port or the Maclock’s internal 18650 battery.

Are you excited yet? I thought so.
Here is a list of the parts you will need for this project.
— Parts list —
- Maclock – https://amzn.to/3UggtoF
- Raspberry Pi Zero 2 W – https://amzn.to/4zFeWIK with SD card
- Waveshare 2.8 inch IPS LCD – https://amzn.to/4gkbCLO
- PAM8302 audio amp + small speaker – https://amzn.to/3SuOwZy
- 3D-printed screen bezel (STL in repo)
- Custom breakout PCB (KiCad files in repo, or order from OSH Park – https://oshpark.com/shared_projects/GyW8LNwC)
- Mini Keyboard and mouse – https://amzn.to/4wKuc4t
- Right Angle USB OTG Cable – https://amzn.to/4gj2iI2
You’ll definitely want to check out the macintosh‑mini GitHub project. Link below. Wells has put together a custom Raspberry Pi script that not only simplifies setup but adds startup sounds, proper button handling, and other little touches that make the whole experience feel more like a real classic Mac.

For my build, I added a power LED and a USB cable out the back so I can plug in accessories—like a tiny keyboard‑mouse combo. The one pictured is both a keyboard and a mouse, which is incredibly convenient for something this small.

Now, you might be tempted to skip the custom PCB and try to bodge everything together yourself. Don’t. The PCB is the magic sauce that makes this project feel polished instead of hacked together. Trust me—you want the PCB.

Now it’s time to install the OS, emulator of choice, and Macintosh disk images to bring the whole thing to life. I won’t walk through that process here—the project’s GitHub page covers everything in great detail. Instead, I’ll leave you with a few notes from my own experience.

A few parts of the build were frustrating, so here are some notes to save you the headache:
- Opening the Maclock case. The front shell is held on with plastic clips, and it’s very easy to mar the case if you’re not careful. I used a slim stainless steel spudger like this one: https://amzn.to/4wKwgJL. Take your time.
- Choosing an emulator. I went with SheepShaver and immediately regretted it. It was finicky, hard to configure, and had quirks I didn’t enjoy. I recommend Basilisk II for System 6 or 7—it’s more stable and predictable. The easiest option, though less authentic, is RetroPie with the Macintosh emulation files. It’s versatile, simple to set up, and as a bonus, you can play C64 and Atari games on your mini Macintosh.
- Get a mini keyboard with a built‑in trackpad. Using a full‑size keyboard and mouse with a tiny screen feels ridiculous. A compact keyboard makes the whole experience far more enjoyable.
Despite the hiccups, this is a fantastic project that I highly recommend. Every time I glance over at that tiny Macintosh, it makes me smile. It’s just awesome. Thanks Colin.
Here are some links to get you started.
Buy a Maclock case / Does Not Compute / Wells Workshop / My OSH Park Project / mini-mac Github Page
Happy Tinkering,
Rick